Plan first, buy second: a practical guide for school leaders
A step-by-step plan for setting up a robotics lab in your school, covering space, kits, rough budget estimates, training, and a pre-purchase checklist.
Introduction
Many principals and trustees tell us the same thing: "We want a robotics lab, but we do not know where to begin or what it will cost." That uncertainty is understandable. Kits come in dozens of styles, vendors promise different things, and a poorly planned lab can end up as a locked room with dusty boxes. This guide walks through the planning steps, kit categories, a rough cost framework, and a checklist you can use before you spend a rupee.
A note on costs: every figure below is a broad planning estimate, not a quote. Prices change with brand, quantity, import duties, and supplier, so always collect current written quotations before finalising a budget.
Steps 1 and 2: Define the purpose and choose the space
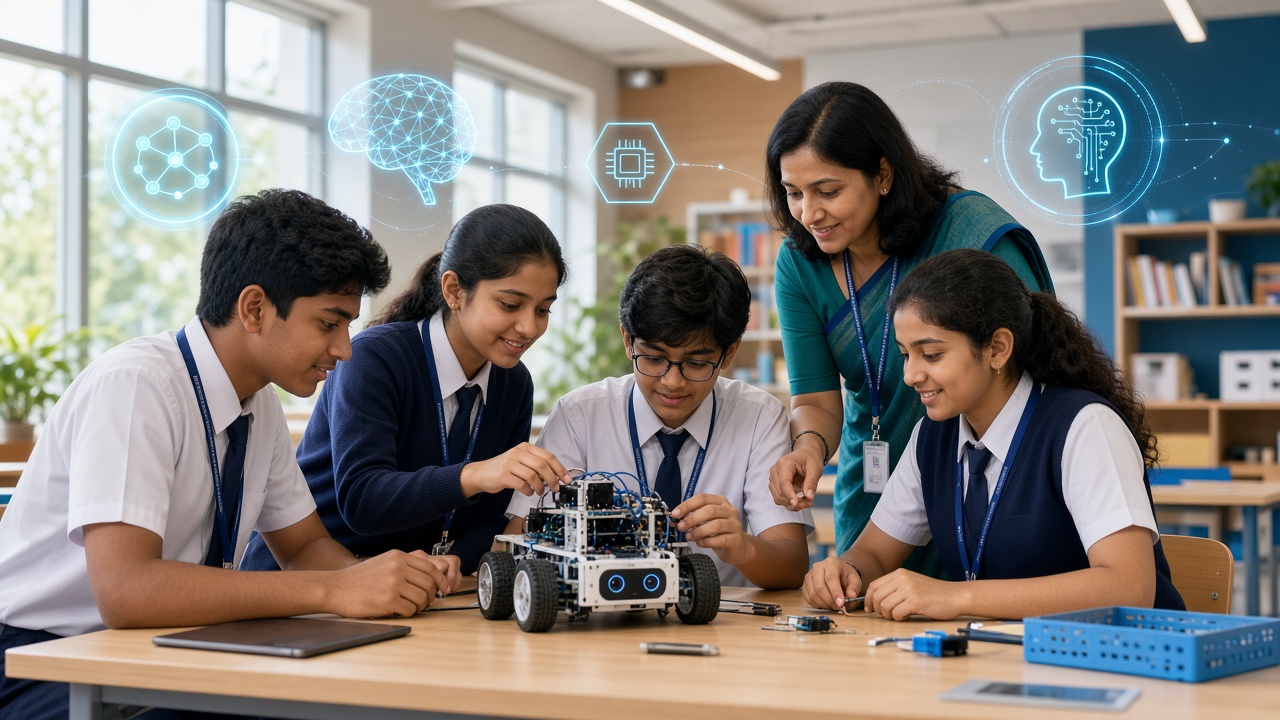
Step 1: Define the purpose before the purchase. Start with three questions: Who will use the lab? Which classes, and how many students per session?; What will they learn? Basic electronics and coding, mechanical design, AI, drones, or a mix?; How will it fit the timetable? Weekly periods, an after-school club, or both?. A lab for Classes 6 to 8 doing introductory builds looks quite different from one supporting Class 11 and 12 students working on sensors and AI. Write down your answers in a one-page brief. It will guide every decision after this.
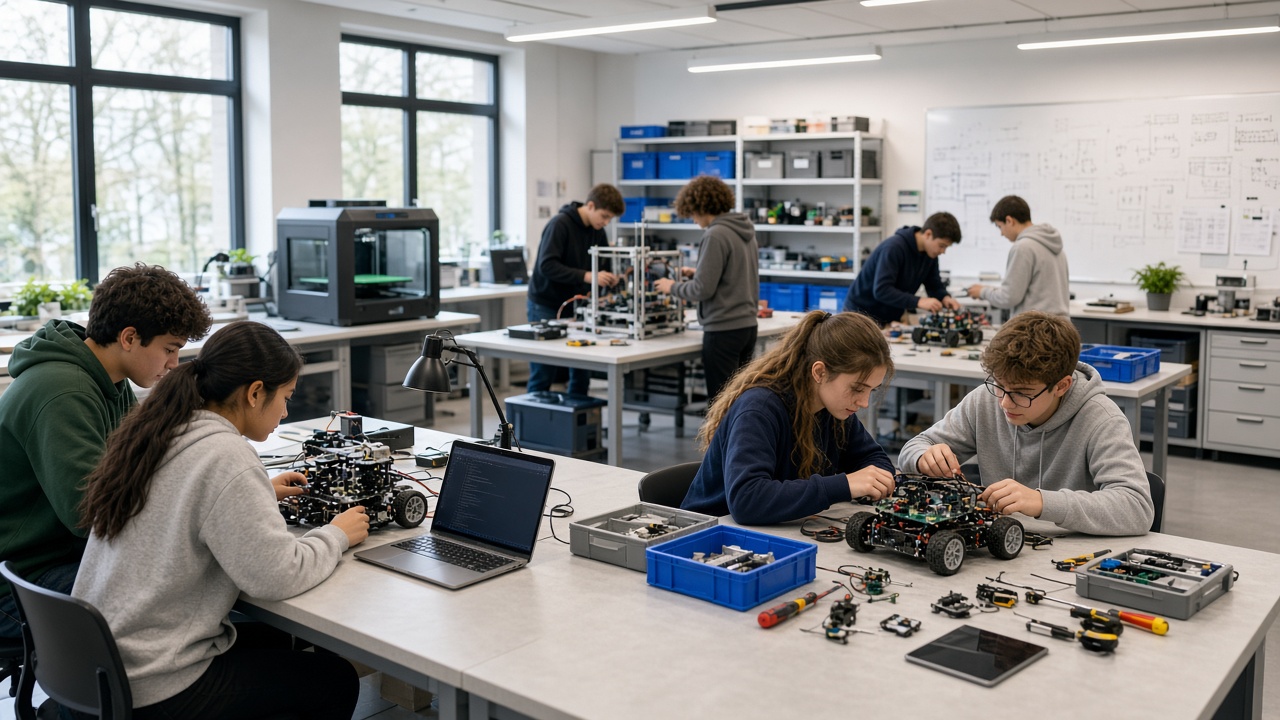
Step 2: Choose the right space. You do not need a large hall. You do need the basics: A room that can seat students in teams of 3 to 4 around workbenches or sturdy tables; Enough electrical points with proper earthing, plus extension boards with surge protection; Lockable cupboards or labelled bins for kits, tools, and small parts; Good lighting, ventilation, and a clear floor area where robots can run; A display wall or shelf to showcase student projects. If a dedicated room is not possible, a corner of an existing lab with mobile storage can work for a pilot phase.
Step 3: Pick kits by learning stage
Think in categories rather than brand names.
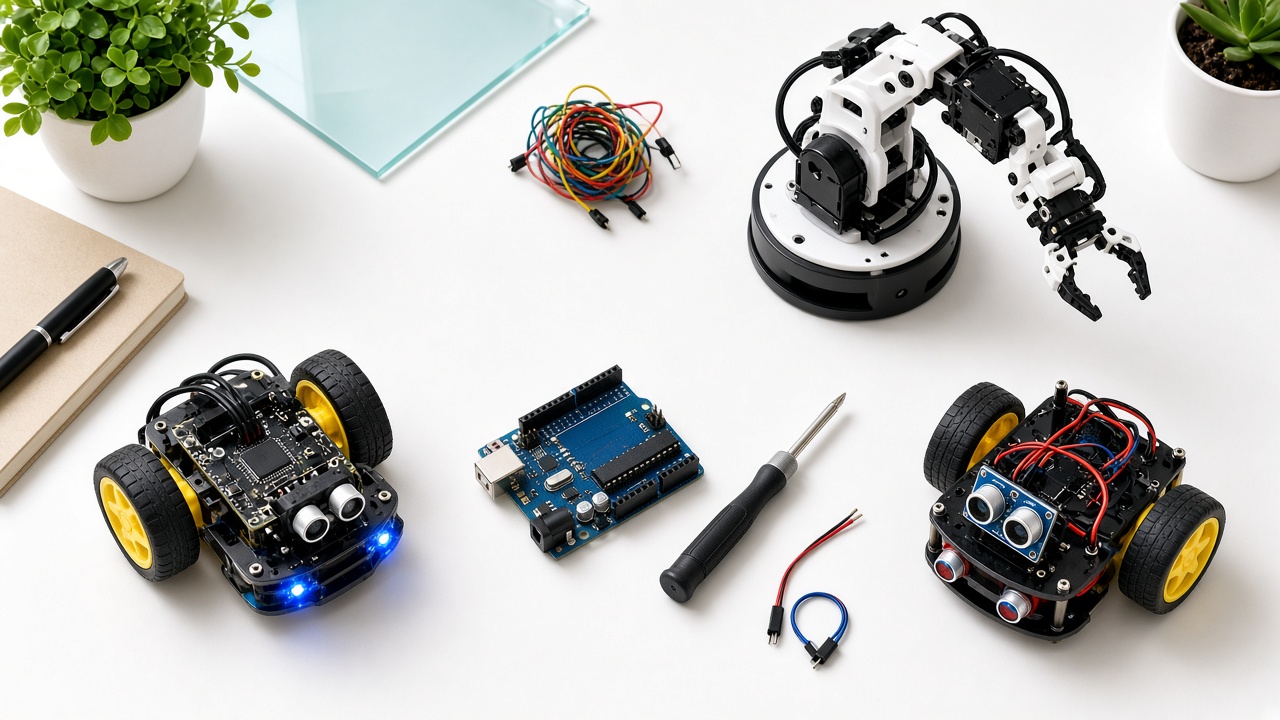
Beginner kits (younger students). Snap-together or block-based kits with motors, simple sensors, and visual coding. They help students see cause and effect quickly.
Microcontroller kits (middle and senior students). Arduino-style boards with sensors, motors, breadboards, and jumper wires. These teach electronics and text-based coding, and they are the backbone of most school robotics labs.
Mechanical and structural kits. Metal or plastic building parts for chassis, arms, and gears. They teach design and strength.
AI and vision add-ons. Single-board computers or camera modules for basic image recognition and machine learning projects. Add these after students are comfortable with the basics.
Drone kits. Educational drones need extra care: safe flying areas, battery handling, and awareness of Indian drone regulations. Consider them as a second phase.
Tools and consumables. Screwdrivers, pliers, wire strippers, multimeters, soldering stations (with supervision), safety glasses, batteries, and spare parts. These are often forgotten in initial budgets.
Step 4: Build a realistic budget
Here is a rough way to think about costs. Treat the ranges as starting points for conversations with suppliers, not guarantees.
As a very rough framing, a small starter lab for a handful of teams might land somewhere around ₹1.5–4 lakh including basic tools and storage but excluding new computers, while a larger multi-station lab with computers, furniture, and advanced kits can cost considerably more. These are planning estimates only; your actual figure depends on scale, brands, and choices. Ask at least two or three suppliers for itemised written quotes and compare what is included.
- Kits (rough estimates): beginner kits might fall around ₹2,000–₹6,000 per team, microcontroller kits with a decent set of sensors around ₹4,000–₹12,000 per team, and AI-capable or advanced kits higher still.
- Computers or laptops: If you already have a computer lab, you may be able to reuse it. Otherwise this is often the largest single item.
- Furniture and storage: Workbenches, stools, and cupboards can add up quickly, so check what the school already owns.
- Electrical work: Extra points, earthing checks, and safe wiring are essential.
- Teacher training: Budget for it. A lab is only as useful as the people running it.
- Yearly top-up: Plan for replacing damaged parts, batteries, and consumables each year.
Step 5: Plan curriculum and people
Equipment alone does not teach. Before launch, confirm:
1. A term-wise curriculum with clear projects and outcomes 2. Trained facilitators who can guide students, not only demonstrate 3. Assessment methods such as project rubrics, demos, and portfolios 4. Safety rules for tools, batteries, and electrical work, displayed in the lab 5. A calendar for exhibitions, competitions, and parent demo days.
The pre-purchase checklist
Q: How much space does a school robotics lab need? A: It depends on class size, but a room that comfortably seats teams of three or four at workbenches, with storage and a small area for testing robots, is a good target. Smaller pilots can begin in a corner of an existing lab.
- Purpose, grades, and timetable slots defined
- Room identified with electrical safety checked
- Storage and labelling plan ready
- Kits matched to student age and learning stage
- Tools, consumables, and safety gear included
- Computers or laptops accounted for
- Curriculum and lesson plans in hand
- Teachers or facilitators trained
- Written quotations from multiple suppliers compared
- Warranty, spares, and after-sales support confirmed
- Yearly maintenance budget set
Common mistakes to avoid
Q: Do we need a separate budget for teacher training? A: Yes. Training is one of the most valuable parts of the setup. Teachers who feel confident make the lab a living part of school life instead of a showpiece.
- Launch event and showcase planned
- Buying too much too soon. Start with a pilot and expand.
- Ignoring teacher training. Equipment without confident staff goes unused.
- Choosing kits with locked-in content. Prefer flexible kits where students can design their own projects.
- No plan for maintenance. Parts break; plan for it.
Frequently asked questions
Q: Can we start with a small lab and expand later? A: Absolutely, and we recommend it. A pilot with a few teams helps you learn what works, build student interest, and make better decisions on the next phase of spending.
SheepByte is an AI and robotics education company based in Udaipur, Rajasthan. We help schools plan and set up robotics labs, and our Robotics Lab, Coding Bootcamp, AI Learning, Drone Technology, Innovation Club, and STEM Integration programs can plug into the space you build. We also run workshops in Jaipur, Delhi, and online.
To discuss your school's plan, write to support@sheepbyte.com or visit sheepbyte.com.