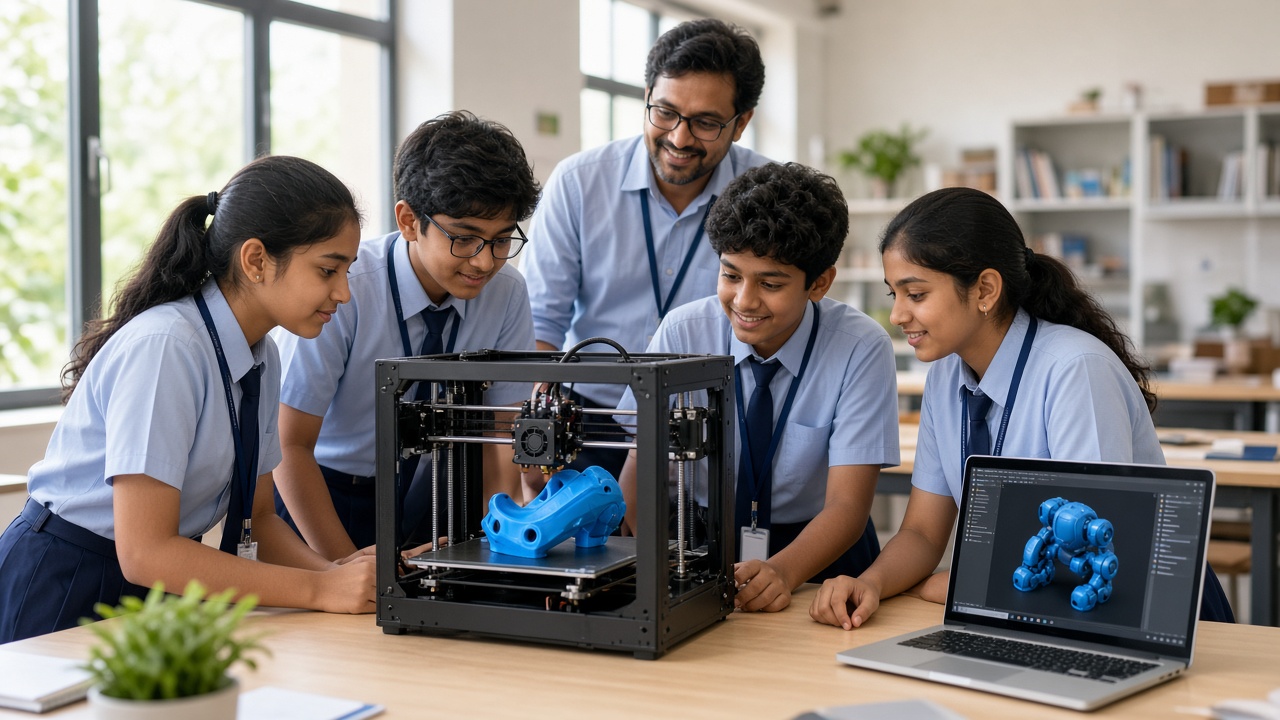

A simple, tested, well-explained project beats a complicated one that fails on the day
A step-by-step guide for Indian students in Class 6–10, parents, and teachers preparing a robotics project for a school science exhibition—from idea to judges.
Introduction
A school science exhibition is a great chance to build something real and explain it to strangers. For a robotics project, the difference between a stressful week and a proud moment is rarely the price of the parts. It is the process: a clear problem, a realistic plan, steady testing, honest documentation, and a confident explanation.
This guide is for Indian students in Class 6–10, and for the parents and teachers supporting them. It walks through choosing an idea, planning a timeline, building and testing, documenting, presenting to judges, avoiding common mistakes, and how schools can help. For idea lists, see our beginner robotics project ideas post.
Start with a problem, not a kit box
Good exhibition projects begin with a question: what small problem around me could a sensor, a motor, or a few lines of code help with? Plants that dry out, lights left on in empty rooms, a crowded school gate, or water wasted from a tank are all starting points.
Write the problem in one sentence before choosing any parts. “Our school corridor lights stay on after classes end” is easier to build and explain than “a smart energy system”. Judges connect with a real problem more than a list of components.
Pick an idea that fits your time, skills and budget
Be honest about three limits. Time: how many weeks remain, and how many hours each week can you really give alongside studies? Skills: have you used block coding, a microcontroller board, or a sensor before? Budget: what can your family or school reasonably spend, and can you reuse parts you already have?
A useful rule is one main input and one main output. Example directions: a soil-moisture alert for plants, an obstacle-sensing model vehicle, an automatic light that responds to darkness, or a simple sorting arm that reacts to colour. Each can be built at a basic level and improved if time allows.
Plan backwards from exhibition day
Take the exhibition date and work backwards through four stages. Research and design: define the problem, sketch the idea, and list parts. First build: get the core function working, even if it looks rough. Testing and improvement: fix bugs and make it sturdier. Final week: freeze the design, finish the poster, and rehearse.
Keep a buffer of a few days for late parts, a burnt component, or exams. Share the plan with your teacher so check-ins happen early, not the night before.
Build simple, test often, keep a backup demo
Build the smallest working version first, then add features one at a time and test after each change. If something breaks, you will know what caused it.
Test in conditions like the exhibition hall: bright lights, noise, crowds, and no Wi-Fi. Sensors can behave differently under hall lighting, so test there if you can. Prepare a fallback: a short phone video of the project working, photos of each build stage, and spare wires, batteries, and a second copy of your code. If the model fails on the day, you can still explain and show proof that it worked.
Power and safety at the stall
Prefer low-voltage power: USB power banks or enclosed battery packs. Carry spares and check whether your stall will have a socket. Tidy loose wires, cover sharp edges, and keep liquids away from electronics. Soldering, mains electricity, and lithium cells should only be handled with an adult or trained mentor present.
Document as you go: logbook and poster
Keep a project logbook from day one. Note the date, what you tried, what failed, and what you changed. Add sketches, circuit diagrams, and photos. This record is often more impressive than the model, because it shows real thinking.
Your chart or poster should be readable from a few steps away. Use clear sections: the problem, how it works (a simple block diagram), the parts used, results from your testing, and future improvements. Use large headings, short sentences, and pictures.
Explaining your project to judges
Prepare a short explanation covering four points: the problem you chose and why it matters, how your project works in simple language, what you learned (including what went wrong), and what you would improve with more time.
Practise with friends, family, and teachers until you can explain it without reading. If a judge asks something you don’t know, say so honestly and share how you would find out. Every team member should be able to explain at least part of the project.
Common mistakes to avoid
Buying a ready-made kit project. Assembling a pre-designed model with no changes teaches little, and judges usually spot it quickly.
Overcomplicated builds. Too many sensors and features increase the chance of failure. One function that works reliably beats five that work sometimes.
Untested on the day. Many models fail because they were finished the night before. Freeze your design early.
Parents doing the work. Parents can guide, fund, and encourage, but the child must build, code, and explain. Judges ask questions that quickly reveal who did the work.
How teachers and schools can support
Teachers can help students narrow ideas, set check-in dates, and review logbooks along the way. Schools can open the lab or a quiet room after hours, keep a shared pool of basic components, and run a mock judging session a week before the event. Frameworks such as NEP 2020 generally encourage hands-on, experiential learning, and exhibitions are a natural way to put that into practice. A school Innovation Club or robotics lab gives students a year-round space to try ideas, so exhibition season is less of a rush.
Frequently asked questions
Q: How early should students start preparing? A: Start as soon as the exhibition is announced. Even simple projects benefit from several weeks of building, testing, and rehearsal.
Q: Does a project need expensive components to impress judges? A: No. Judges often value a clear problem, original thinking, reliable working, and a confident explanation more than costly parts.
Q: Can students work in teams? A: Usually, depending on the school’s rules. Give each member a clear role, such as building, coding, documentation, or presenting.
Learn with SheepByte
SheepByte is an AI and robotics education company based in Udaipur, Rajasthan. Our programmes—AI Learning, Coding Bootcamp, Drone Technology, Innovation Club, Robotics Lab, and STEM Integration—help students learn by building real projects. We support school robotics lab setup and run workshops in Udaipur, Jaipur, Delhi, and online, helping students turn exhibition ideas into working, well-explained projects.
If your school or child is preparing for a science exhibition, email support@sheepbyte.com or visit sheepbyte.com.